
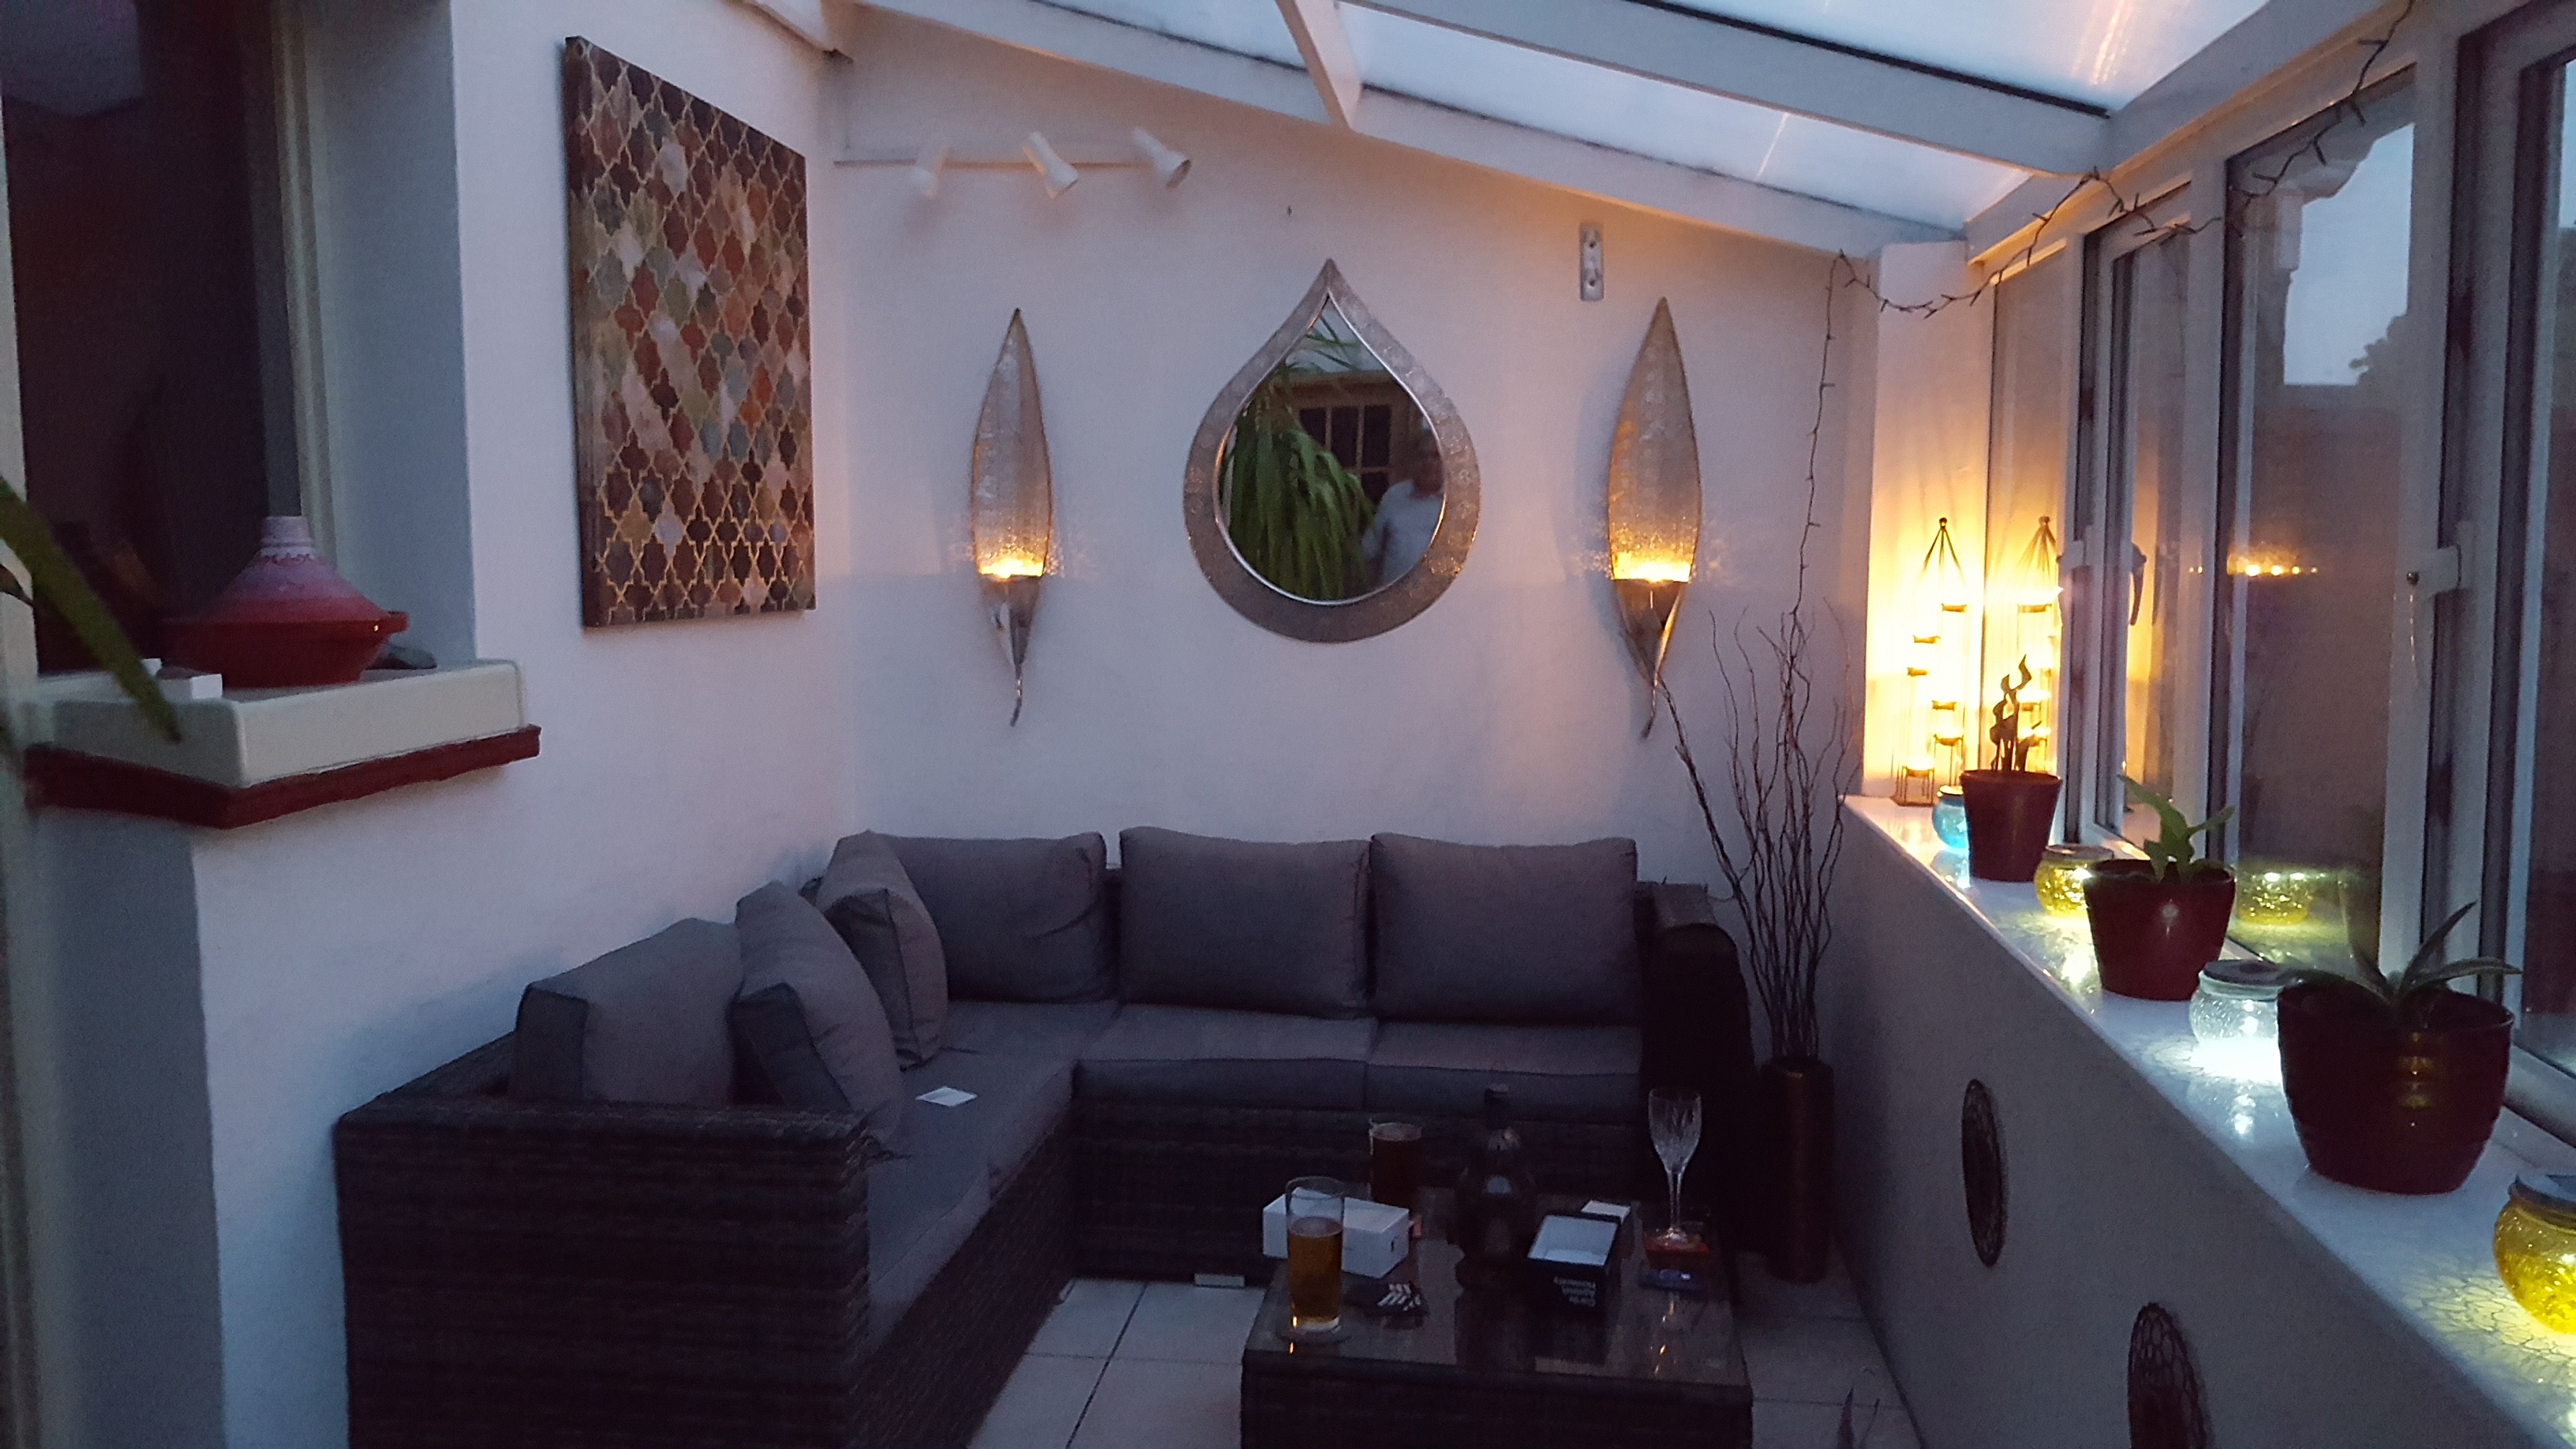
I’ve been working on a Moroccan-themed conservatory over the last 6 months or so, and while it’s still a work in progress, I think it’s already looking pretty good. As my other half pointed out after I’d raided the Range, ‘Morocco has vomited in our conservatory’ – but I think there’s room for improvement.
I have a Pinterest board dedicated to ideas for my conservatory, and one of the items I was very keen to include was some sort of Moroccan pouffe. However, since I failed to find one under £100, and being in possession of a large amount of reclaimed leather, I decided to try out the great-looking tutorial I’d found by Gentry Bartholomew here. You can just follow Gentry’s tutorial if you want to make one yourself: the instructions are easy to follow, and my ramblings below are just chronicling my attempts at making it.

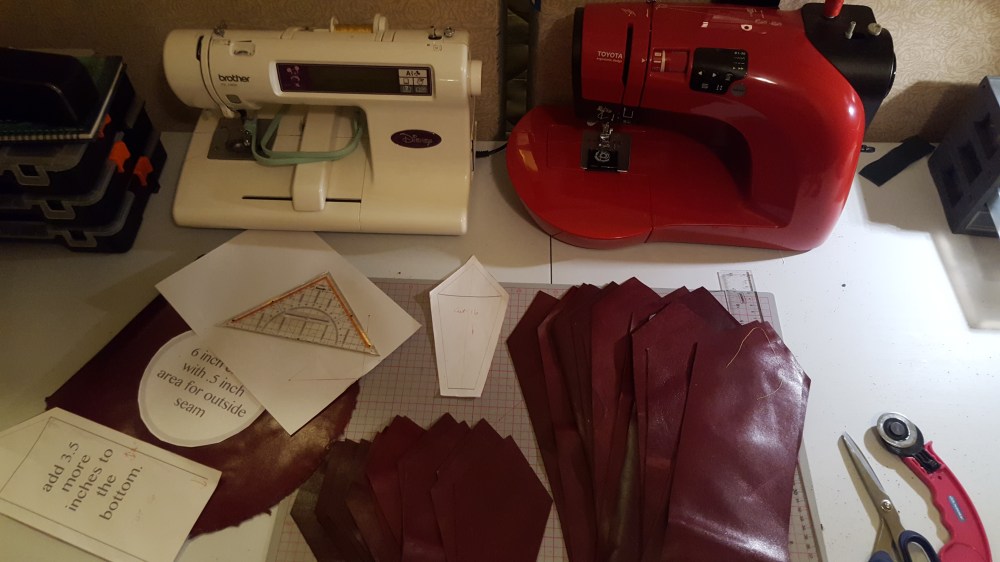
My first challenge was printing the templates at the right size. Having read the comments on Gentry’s blog, I understood that downloading then printing was the way to go, but even when following that route, I was finding that the matching edges of the short pieces were far shorter than the matching edges of the long pieces, so I tinkered with them in Photoshop until they were the size I thought they needed to be. There may be some issues here given that they were created to be printed on US 8X11″ paper and UK paper is slightly different in its dimensions.
With my pattern pieces ready, I chose my sewing music: Classic late 80s Alice Cooper and Bon Jovi (this is optional, but it helps!)
I cut out all the pieces using my rotary knife, keeping the more damaged pieces of reclaimed leather for the base of the pouffe where they wouldn’t be seen.
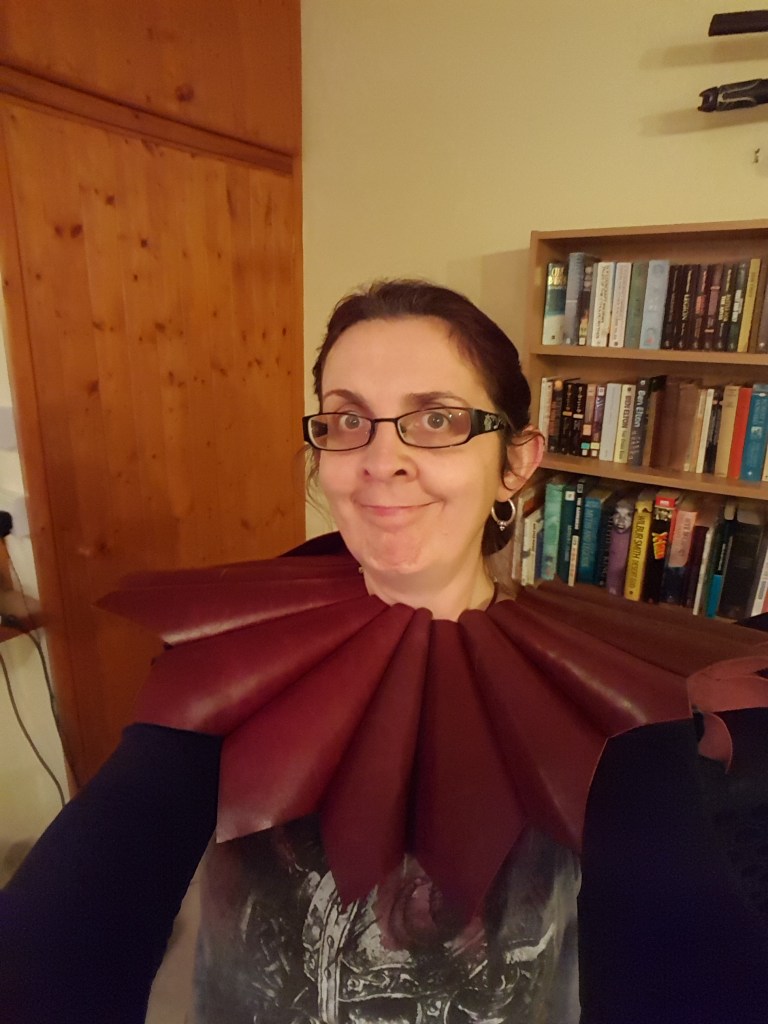
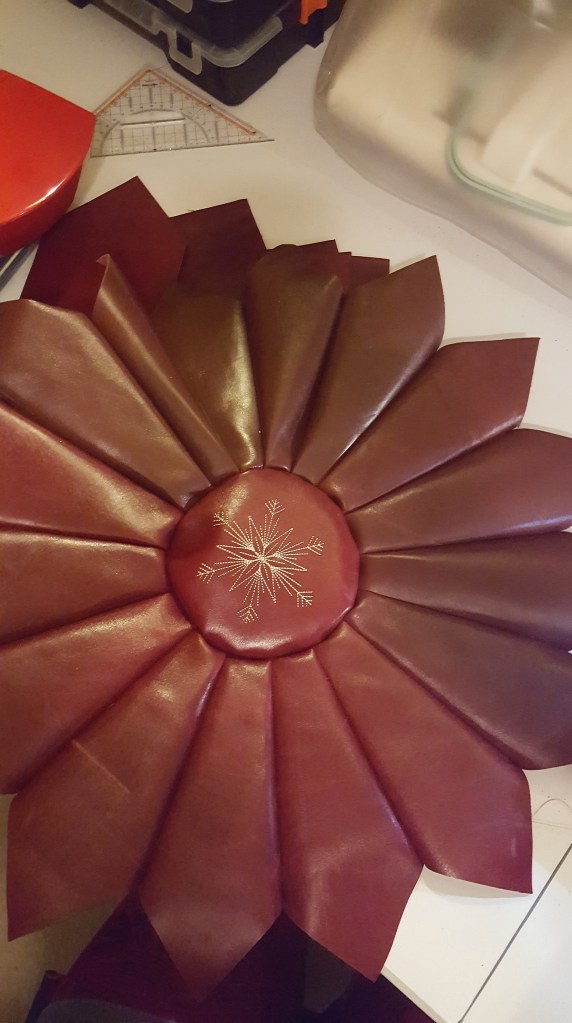
Next step was to stitch together all the top pieces, making a circle. At this point I can’t resist a frilled-lizard-esque selfie.
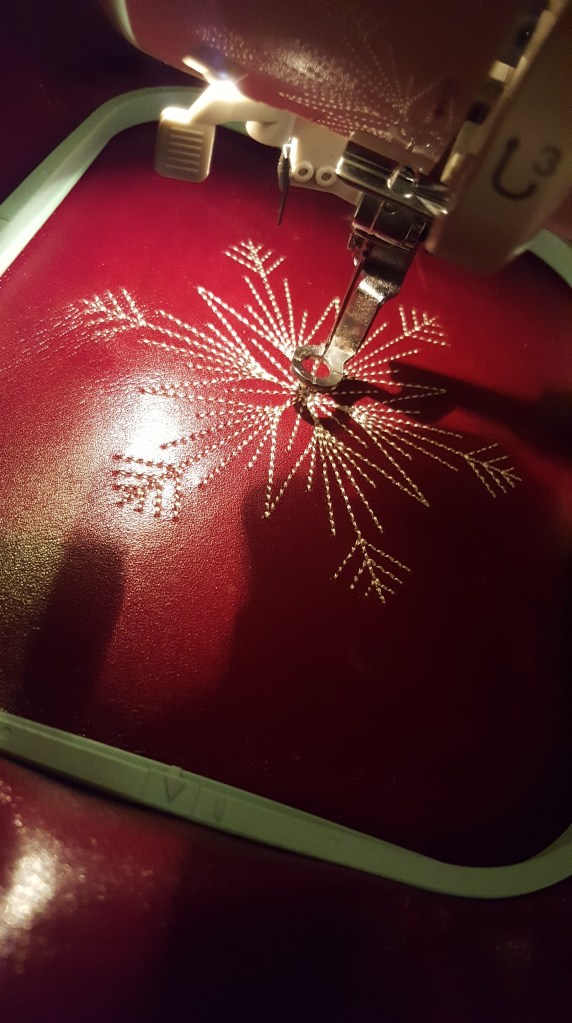
The next step was to add a motif to the central top piece. I’d been looking at the embroidery on some of these pouffes, and decided I needed a sort of star design. While I do have some digitising software, and could have drawn and digitised my own design, I was feeling some post-Christmas laziness and bought this one from www.embroiderydesigns.com
Now it was time to stitch the central circle into the frilled ring, which was very tricky – not because of the design of the pouffe, but because I was using such heavy-duty leather. While my sewing machine will handle leather, stitching through several thicknesses of it pushed its limits and I had a few complaints and broken needles from it before I finished!
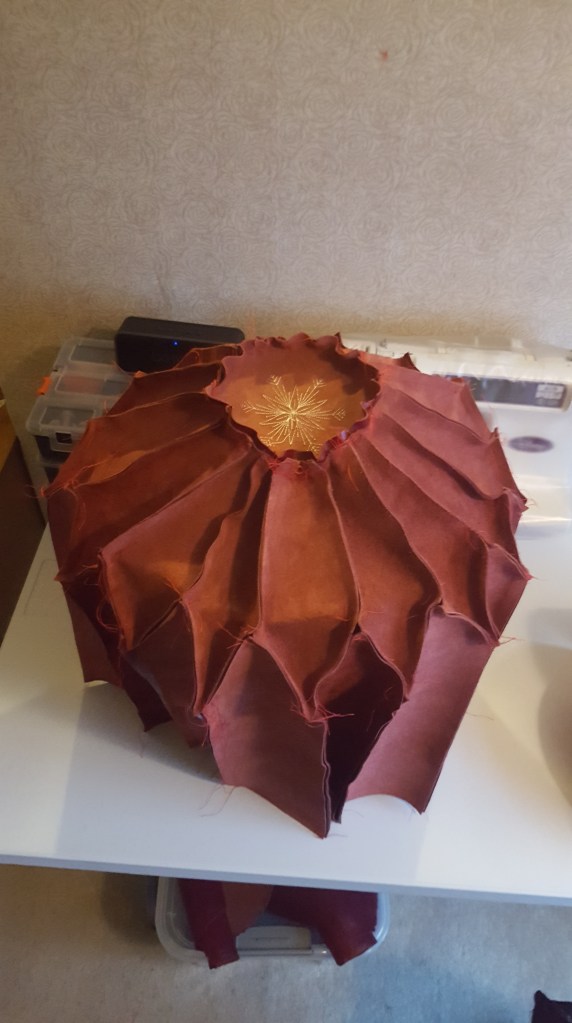
At this point I decided it looked like a lampshade and put it on my head for another selfie.

The next step was to sew the long side pieces to the short top pieces. This again was a bit tricky due to the presser foot not being able to get close enough to the existing seams to stitch the seam entirely closed. I reinforced the end of each seam and carried on regardless.
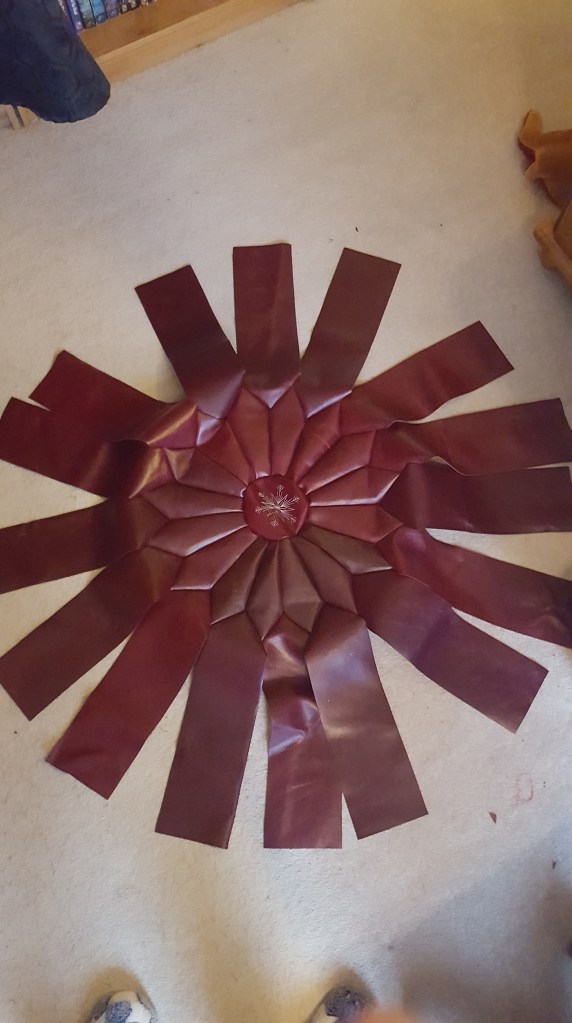
It now looked like a giant leather jellyfish with a white star in the middle. Undeterred, I soldiered on.
Next, I stitched the long seams down the sides of the pouffe. This was probably the easiest part of the project!

The next part of the project called for zipper insertion. As I contemplated this, I realised I’d need to stitch through a double thickness of leather onto a zipper using a zipper foot. I balked at the thought and suggested a mission to the haberdashery to buy velcro. Having returned successful with copious amounts of velcro plus (inexplicably) several yards of burgundy cord, some harvest gold embroidery thread and (perhaps less inexplicably) more leather sewing needles), I set about cutting out the base, mostly using trial and error.
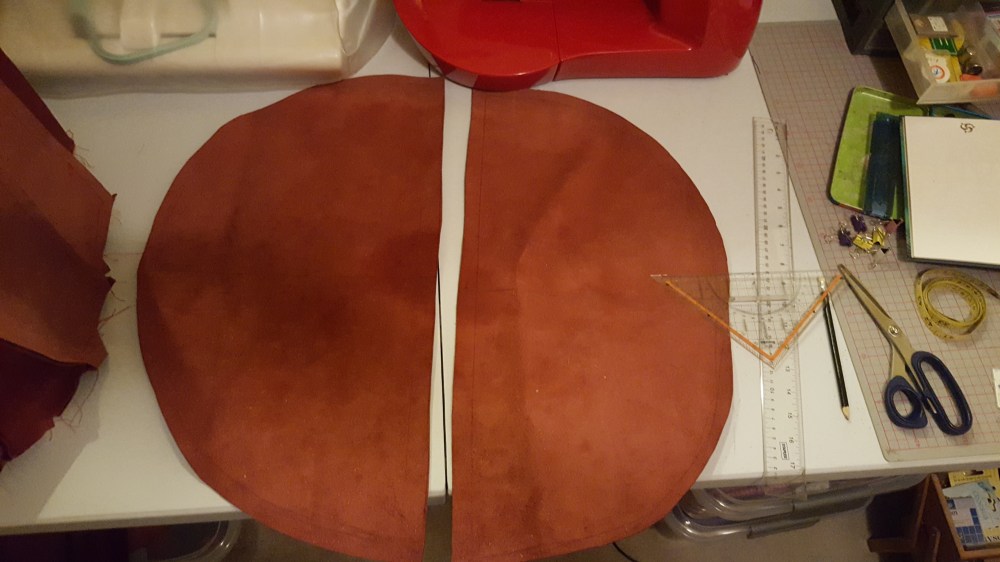
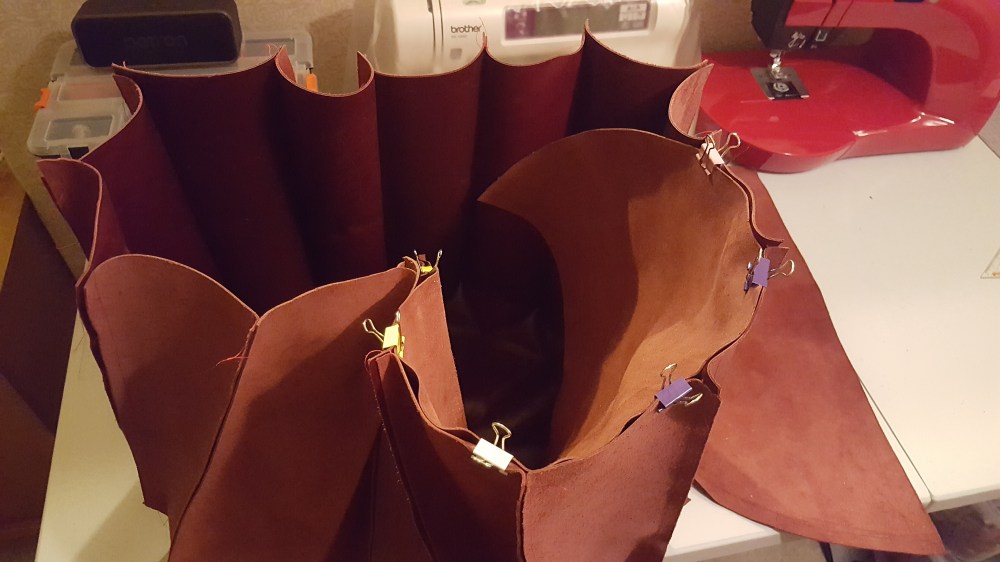
Since I couldn’t pin any of the project (another reason to use lighter materials, kids!) I used mini bulldog clips to hold the leather in place while sewing around the circles.
Once they were both sewn in place, I stuck on the velcro and hey presto, one pouffe!
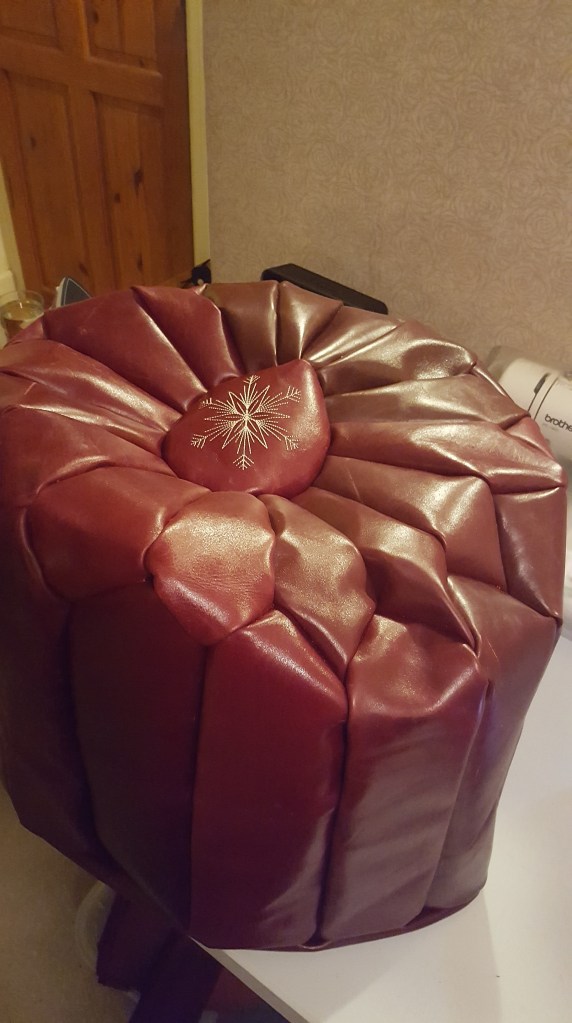
I’d read on Gentry’s blog, as well as the blogs of those who’d followed the pattern that the pouffe needed a serious amount of stuffing. So I grabbed a handy single quilt that was surplus to requirements since me and my partner moved in together 19 years ago, and stuffed it in. Nowhere near full! So I grabbed another one and stuffed that in too. It’s still got plenty of room for extra filling!
It was about this time when my other half came in and asked why my Moroccan pouffe had a snowflake motif when there’s no snow in Morocco. My response will not be posted here!

I may still edge all the seams in burgundy cord, probably using hot glue to affix it, but I’m a little worried about ruining it, and whether it would hold long-term. So for the moment, I’m just going to add some more stuffing and introduce it to the conservatory in the spring, when it should blend in nicely with the new seat covers I’m planning to make for the dull grey furniture. I’m sure I’ll blog all about those too. 🙂
